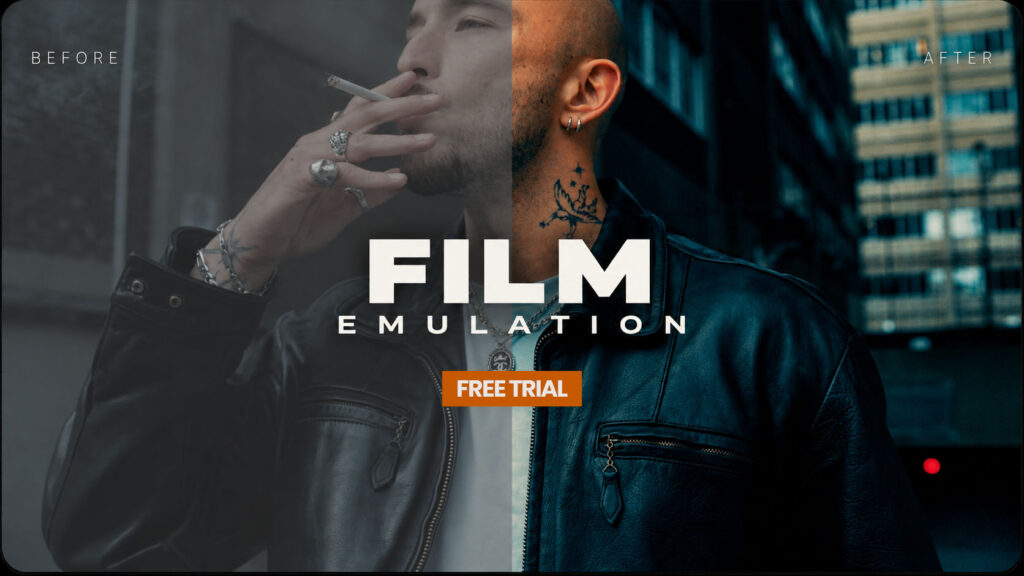
Film emulation in DaVinci Resolve doesn’t need to mean stacking LUTs, plugins, grain effects and endless corrections.
A convincing film look comes from a few key elements working together: negative film response, print characteristics, color, contrast and film texture.
The trick is controlling those elements as part of one workflow.
That’s exactly what we wanted to achieve with FilmX Emulation Pro 1.7 and FilmX Aesthetics 1.7.
Film Emulation Isn't Just Grain
When people talk about a “film look,” grain is usually the first thing that comes to mind.
But grain is only one part of the image.
A proper film emulation workflow in DaVinci Resolve also considers how film responds to color, exposure and contrast, followed by the characteristics introduced during the print stage.
Then you can introduce elements such as:
- Film grain
- Halation
- Bloom
- Optical characteristics
The important part is that these elements should work together.
They shouldn’t look like effects that have simply been placed on top of the footage.
A Simple Film Emulation Workflow in DaVinci Resolve
For our FilmX workflow, we’re using a straightforward four-node structure:
INPUT CST → FILMX EMULATION → FILMX AESTHETICS → OUTPUT CST
The first Color Space Transform takes our camera footage into DaVinci Wide Gamut / DaVinci Intermediate.
The second node is FilmX Emulation Pro 1.7, where we establish the negative and print film response.
The third node is FilmX Aesthetics 1.7, where we introduce grain, halation, bloom and other aesthetic characteristics.
Finally, the output Color Space Transform takes the finished image back to Rec.709.
That’s the entire foundation.
Negative Film + Print Film
One of the most useful parts of the FilmX workflow is the separation between negative film and print film.
The negative stage establishes the underlying film response.
The print stage then adds another layer of density, contrast and color character.
This gives you considerably more control than treating film emulation as a single preset.
And importantly, there isn’t one intensity that works for every shot.
A dense, high-contrast image may need a lighter print response, while another image may benefit from a stronger one.
You’re grading the image, not following a recipe.
The Final Step: Making It Feel Like Film
Once the color and tonal response are established, FilmX Aesthetics 1.7 lets you build the characteristics that complete the image.
Grain should feel integrated.
Halation shouldn’t look like a glow effect.
Bloom shouldn’t make the image look artificially soft.
The goal is simple:
The effects shouldn’t announce themselves. They should feel like they’re part of the image.
That’s where the difference between a stylized digital image and a convincing film-inspired image often comes from.
Try FilmX Free
Want to follow the workflow yourself?
FilmX Emulation Pro 1.7 and FilmX Aesthetics 1.7 are available as a free demo, so you can experiment with film emulation directly inside DaVinci Resolve.